

How to Patch a Hole in the Wall: Master the Simple Fix 2026
Introduction
You’re rearranging your living room, and as you pull that heavy mirror off the wall, you notice it—a gaping hole staring back at you like an accusation. Or maybe you were hanging a picture frame, got a little too enthusiastic with the hammer, and now there’s a crater where smooth drywall used to be. Sound familiar?
Knowing how to patch a hole in the wall is one of those essential homeowner skills that saves you money, stress, and embarrassment when guests visit. Whether you’re dealing with a tiny nail hole or a doorknob-sized disaster, fixing wall damage isn’t as intimidating as it looks. You don’t need to be a professional contractor or own fancy tools to get the job done right.
In this guide, I’ll walk you through everything you need to know about patching holes in your walls. You’ll learn which materials work best for different hole sizes, the exact steps to follow, and pro tips that make the repair virtually invisible. By the end, you’ll have the confidence to tackle any wall damage that comes your way.
Understanding Different Types of Wall Holes

Before you grab any supplies, you need to identify what kind of hole you’re dealing with. Not all wall damage is created equal, and the repair method changes based on size and severity.
Small Holes (Less Than 1 Inch)
These are your typical nail holes, small screw holes, or minor dings from moving furniture. They’re the easiest to fix and require minimal supplies. Most people encounter these when they take down picture frames, remove wall anchors, or accidentally bump something into the wall.
Small holes don’t compromise your wall’s structural integrity. They’re purely cosmetic issues that you can fix in under 15 minutes once you know the technique.
Medium Holes (1-6 Inches)
Medium-sized holes usually come from doorknob impacts, accidentally pushing something through the drywall, or removing larger wall fixtures. These require a bit more work than tiny holes but are still manageable for beginners.
You’ll need actual patching materials for these. Spackle alone won’t cut it—you’ll want a repair patch or some mesh to give the filler something to grip onto.
Large Holes (Over 6 Inches)
Large holes are serious business. Maybe someone fell into the wall, or a plumbing leak caused drywall to crumble. These repairs demand cutting out the damaged section and installing a new piece of drywall.
While large hole repairs are more involved, they’re still doable for DIY enthusiasts. You just need patience and the right approach.
Essential Tools and Materials You’ll Need
Gathering your supplies before you start makes the process much smoother. Here’s what you’ll need based on your hole size:
For Small Holes:
- Spackling paste or lightweight joint compound
- Putty knife (2-3 inches wide)
- Fine-grit sandpaper (120-150 grit)
- Primer and paint matching your wall color
- Small paintbrush or foam applicator
For Medium Holes:
- Self-adhesive mesh patch or aluminum repair patch
- Joint compound (also called drywall mud)
- Putty knife (4-6 inches wide)
- Sanding block with fine-grit sandpaper
- Primer and matching paint
- Paint roller or brush
For Large Holes:
- New drywall piece (cut to size)
- Wooden backing boards or drywall clips
- Drywall screws
- Drill with screw bit
- Utility knife
- Drywall tape
- Joint compound
- Wide putty knife (6-8 inches)
- Sandpaper or sanding sponge
- Primer and paint
You probably already have some of these items lying around. Most home improvement stores sell patch kits that include everything you need for small to medium repairs.
How to Patch a Hole in the Wall: Small Holes
Small holes are incredibly forgiving. Even if you mess up, you can easily scrape it off and try again.
Step 1: Clean the Area
Wipe away any dust, debris, or loose drywall paper around the hole. Use a dry cloth or your hand to brush away particles. You want a clean surface for the spackle to adhere properly.
Step 2: Apply Spackle
Scoop a small amount of spackling paste onto your putty knife. Press it into the hole firmly, smoothing it across the surface in one or two strokes. You want it slightly raised above the wall surface because it’ll shrink as it dries.
I’ve learned that less is more with spackle. New DIYers often glob on too much, which creates more sanding work later.
Step 3: Let It Dry
Most spackling products dry in 1-2 hours, but check your product label. Avoid touching it during this time. Impatience here leads to smudges and uneven surfaces.
Step 4: Sand Smooth
Once completely dry, lightly sand the patch with fine-grit sandpaper. Use circular motions and blend the edges into the surrounding wall. Your goal is to make it flush with the wall surface.
Wipe away sanding dust with a damp cloth before moving to the next step.
Step 5: Prime and Paint
Apply a thin coat of primer to the patched area. This seals the spackle and ensures your paint matches the rest of the wall. Once the primer dries, paint over it with your wall color.
For best results, feather the paint slightly beyond the patch so there’s no visible line where the new paint meets the old.
How to Patch a Hole in the Wall: Medium Holes
Medium holes require more structure than spackle alone can provide. That’s where patches come in.
Step 1: Prepare the Hole
Remove any loose drywall or debris around the edges. You want clean, solid edges for your patch to adhere to. Don’t worry about making the hole bigger—you’re covering it anyway.
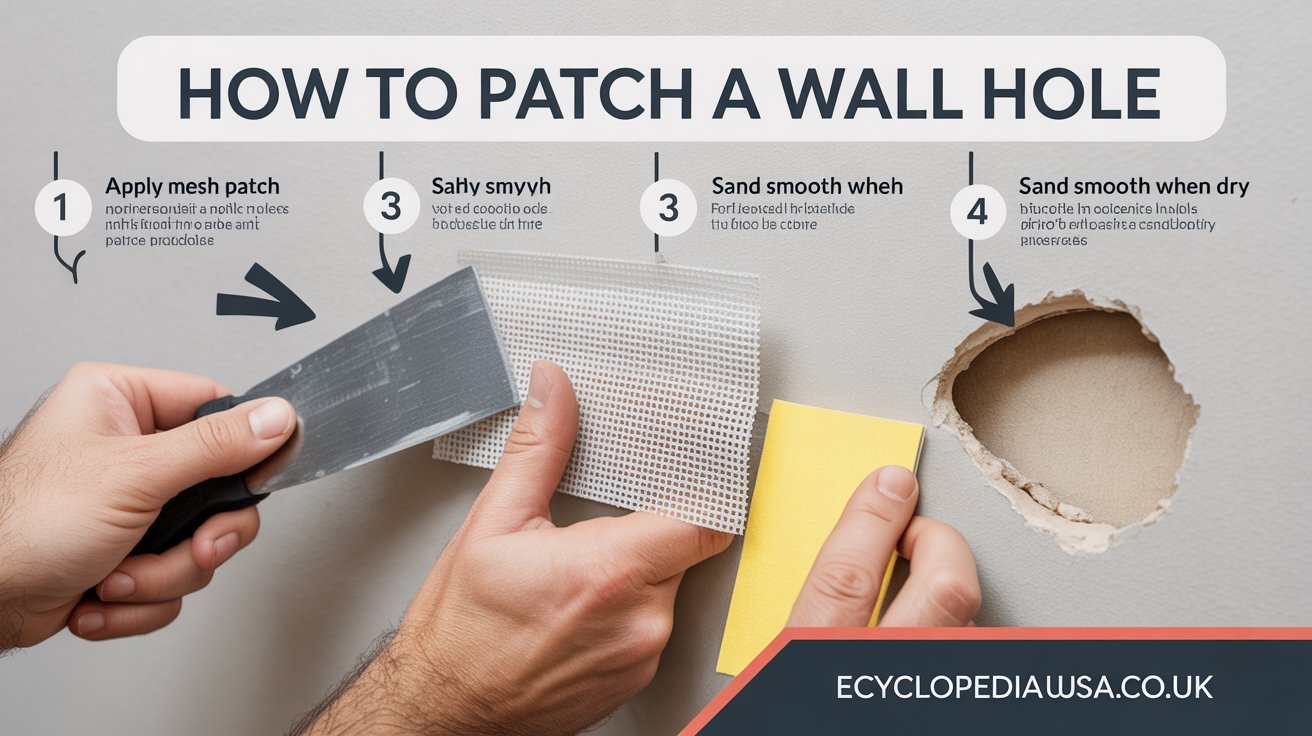
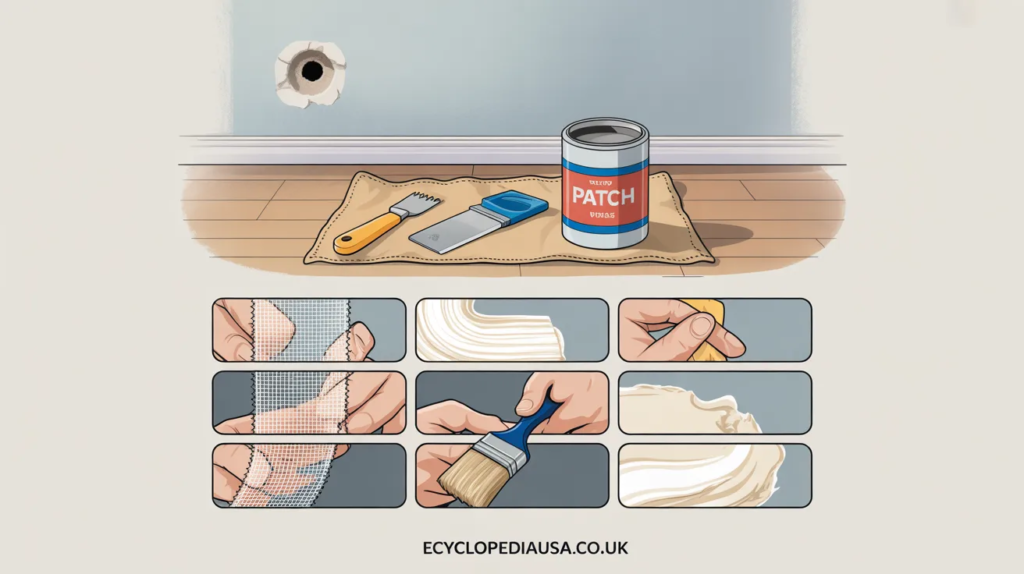
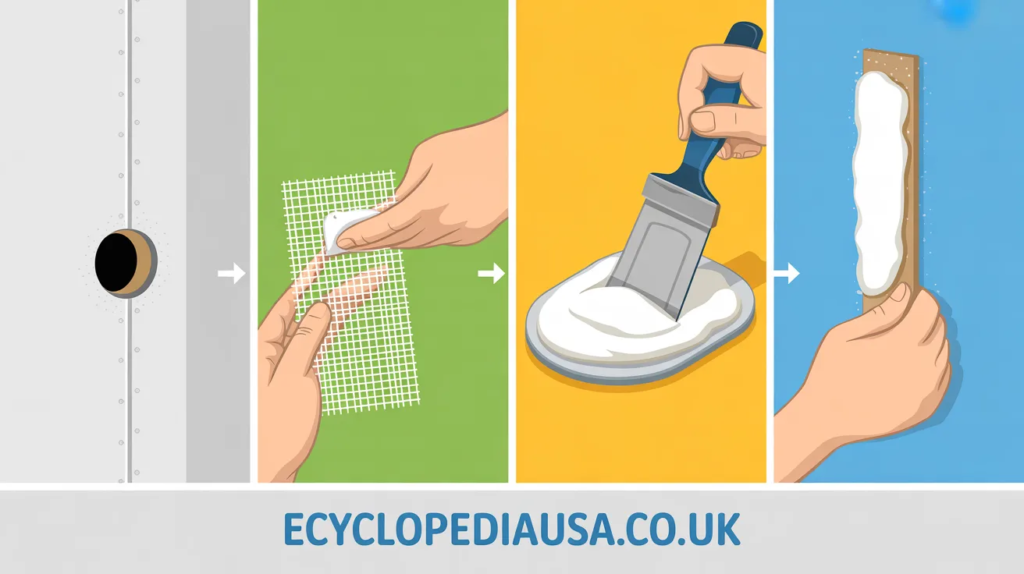
Step 2: Apply the Patch
Peel the backing off your self-adhesive mesh patch and center it over the hole. Press firmly so it sticks to the wall all around the damaged area. The patch should extend at least an inch beyond the hole on all sides.
If you’re using an aluminum patch with support arms, slide it into the hole and twist the knob to secure it from behind.
Step 3: Apply First Coat of Joint Compound
Using your putty knife, spread a thin layer of joint compound over the entire patch. Press firmly to fill the mesh and create a smooth base layer. The mesh will show through—that’s normal.
Don’t try to make it perfect on the first coat. You’ll apply multiple layers.
Step 4: Let Dry and Apply Additional Coats
Let the first coat dry completely (usually 4-6 hours or overnight). Apply a second coat, extending it slightly beyond the first. Feather the edges by angling your putty knife and applying lighter pressure as you move outward.
Most medium holes need 2-3 coats for a smooth finish. Each layer should be wider than the last, blending into the wall.
Step 5: Sand Between Coats
After each coat dries, lightly sand the surface. This removes ridges from the putty knife and creates a smooth base for the next layer. Don’t sand aggressively—you just want to knock down high spots.
Step 6: Final Sanding
Once your final coat is completely dry, sand the entire repair area until it’s perfectly smooth and flush with the surrounding wall. Run your hand over it—you shouldn’t feel any bumps or ridges.
Step 7: Prime and Paint
Apply primer to the patched area, let it dry, then paint. You may need two coats of paint for proper coverage, especially if your walls are a dark color.
How to Patch a Hole in the Wall: Large Holes
Large holes feel intimidating, but the process is straightforward when you break it down.
Step 1: Cut Out a Clean Rectangle
Using a utility knife or drywall saw, cut the damaged drywall into a clean rectangle or square. Straight edges make everything easier. Measure the opening carefully.
Step 2: Cut Your Drywall Patch
Cut a new piece of drywall to fit your opening exactly. Take your measurements from the hole and transfer them to your new drywall piece. Cut carefully—you want a snug fit.
Drywall typically comes in 1/2-inch or 5/8-inch thickness. Make sure your patch matches your existing wall thickness.
Step 3: Install Backing Support
You need something behind the hole to attach your patch to. For small repairs, drywall clips work great. For larger repairs, screw wooden boards behind the opening, leaving half the board extending into the hole on each side.
This backing gives you something solid to screw your patch into.
Step 4: Secure the Patch
Place your drywall patch into the opening and screw it to the backing boards or clips. Use drywall screws and sink them slightly below the surface, but don’t break through the paper face.
The patch should sit flush with the surrounding wall. If it’s recessed or protruding, adjust your backing.
Step 5: Apply Drywall Tape
Cover all seams with drywall tape. You can use paper tape or mesh tape—both work fine. For paper tape, apply a thin layer of joint compound first, then embed the tape in it.
Smooth out any bubbles or wrinkles with your putty knife.
Step 6: Apply Joint Compound in Layers
Apply your first coat of joint compound over the tape and screw holes. Spread it smooth and let it dry. Apply second and third coats, each time extending further and feathering the edges.
Large repairs typically need 3-4 coats for professional-looking results. Patience here makes the difference between an obvious patch and an invisible repair.
Step 7: Sand Smooth
After the final coat dries completely, sand the entire area smooth. Use a sanding block or pole sander for large areas. Create a gradual, feathered edge where the compound meets the wall.
Sanding creates lots of dust, so wear a mask and consider plastic sheeting to protect your floors.
Step 8: Prime and Paint
Prime the entire patched area, then paint. For best results, paint the entire wall so the color matches perfectly without any visible patches.
Common Mistakes to Avoid When Patching Walls
Learning how to patch a hole in the wall means learning from others’ mistakes. Here are pitfalls to watch out for:
Rushing the Drying Time: Each layer needs to dry completely before the next step. Wet joint compound is soft and will smear if you sand it too early. Patience prevents frustration.
Over-Sanding: Too much sanding creates low spots and can damage the surrounding wall. Sand lightly and check your progress frequently.
Skipping Primer: Primer isn’t optional. It seals the repair and creates uniform paint absorption. Without it, your patch will show through your paint as a dull spot.
Using Too Much Compound: Thick layers crack as they dry and take forever to cure. Multiple thin coats always beat one thick glob.
Not Feathering the Edges: Abrupt edges create visible lines. Gradually taper your compound outward for invisible repairs.
Wrong Hole Size Assessment: Using spackle on a six-inch hole or cutting out drywall for a nail hole wastes time and materials. Match your repair method to your hole size.
Pro Tips for Professional-Looking Results
Want your repair to look like it was never there? These insider tricks make all the difference:
Texture Matching: If your walls have texture, you’ll need to recreate it. For light orange-peel texture, thin your joint compound with water and dab it on with a sponge. For heavier textures, use a texture spray can or stomp brush.
Paint Blending: Don’t just paint the patch—paint beyond it. Feather your paint several inches past the repair to avoid a visible rectangle of new paint.
Lighting Test: Shine a bright light across your repair at an angle before painting. This reveals imperfections invisible under overhead lighting.
Save Your Paint: Keep leftover paint from each room labeled with the room name. Future touch-ups will match perfectly.
Practice Your Technique: If you’re nervous, practice spreading joint compound on cardboard first. Getting comfortable with the putty knife makes the actual repair easier.
Check for Underlying Issues: Before patching, ask why the hole appeared. Doorknob holes suggest you need a door stop. Recurring cracks might indicate foundation issues worth investigating.
When to Call a Professional
Most wall holes are DIY-friendly, but some situations warrant professional help:
- Holes revealing mold or water damage behind the drywall
- Cracks that keep reappearing after repairs
- Damage to load-bearing walls or near electrical wiring
- Holes larger than two feet in any direction
- Textured walls you can’t replicate (like heavy knockdown or skip trowel)
- Historic homes with plaster walls (different materials and techniques)
There’s no shame in hiring help for complex repairs. Sometimes the peace of mind is worth the cost.
Maintaining Your Walls to Prevent Future Damage
Now that you know how to patch a hole in the wall, let’s talk prevention:
Use Proper Hanging Hardware: Wall anchors, toggle bolts, and picture hangers distribute weight properly. They prevent holes from heavy items crashing down.
Install Door Stops: These cheap devices prevent doorknobs from punching holes in your walls. Install them on every door that could hit a wall.
Be Careful Moving Furniture: Take extra time when moving large items near walls. A few minutes of caution beats hours of repair work.
Address Small Damage Immediately: Tiny holes are quick fixes. Ignored, they collect dirt, grow larger, or become more numerous.
Regular Inspections: Walk through your home occasionally looking for wall damage. Catching problems early makes repairs simpler.
Conclusion
Learning how to patch a hole in the wall empowers you to maintain your home with confidence. Whether you’re fixing nail holes before moving out or tackling doorknob damage in the hallway, you now have the knowledge to handle it yourself.
Remember, the key to invisible repairs is patience. Let each layer dry completely, sand carefully, and don’t skip the primer. Your first few patches might not be perfect, but you’ll improve quickly with practice.
Wall damage happens to everyone. The difference is that now you can fix it instead of worrying about it.
What wall damage are you planning to tackle first? Do you have any repair horror stories or success tips to share? Your experiences might help someone else facing the same challenge.
FAQs
How long does it take to patch a hole in the wall?
Small holes take 15-30 minutes of active work but need 2-3 hours drying time before painting. Medium holes require about an hour of work spread over 1-2 days to allow for multiple coats to dry. Large holes can take 2-4 days when you factor in drying time between coats.
Can I use toothpaste to fill small nail holes?
While toothpaste can temporarily hide tiny holes in white walls, it’s not a permanent solution. It will yellow over time, doesn’t sand well, and can fall out. Spackle costs just a few dollars and provides professional, lasting results.
Do I need to prime before painting a patched wall?
Yes, always prime patched areas before painting. Joint compound and spackle absorb paint differently than drywall, creating dull spots if you skip primer. Primer seals the repair and ensures even paint coverage.
What’s the difference between spackle and joint compound?
Spackle is pre-mixed, dries quickly (1-2 hours), and works best for small holes under one inch. Joint compound comes in larger quantities, takes longer to dry (4-6 hours per coat), and works better for medium to large repairs. Both can work for small holes, but joint compound is more economical for bigger projects.
Why does my patched hole keep cracking?
Cracks in patches usually happen because the compound dried too quickly, you applied it too thickly, or there’s movement in the wall. For deep holes, apply multiple thin coats instead of one thick layer. If cracks persist, there might be structural issues causing wall movement that need addressing.
Can I patch textured walls?
Yes, but you’ll need to replicate the texture after patching. Let your patch dry completely, then match the texture using a sponge, spray texture, or specialty tools depending on your wall’s texture style. Practice on cardboard first to get the technique right.
How do I find paint that matches my wall color?
Check if you have leftover paint from when the room was painted. If not, cut out a small chip of paint (1-inch square) from a hidden area and take it to a paint store for color matching. Most stores can scan it and create a match.
Will patched areas show through paint?
Not if you prime properly. Unprimed patches absorb paint differently and appear as dull spots or “flashing.” Quality primer prevents this. For best results, consider painting the entire wall rather than just touching up the patch, especially under bright lighting.
Can I patch holes in bathroom or kitchen walls?
Yes, use the same techniques, but in high-moisture areas, consider using moisture-resistant joint compound and mold-resistant primer. Proper ventilation helps prevent future wall damage in these rooms.
What tools do I absolutely need as a beginner?
For small holes, you only need spackle, a putty knife, sandpaper, and matching paint. These basics cost under $20 total. As you tackle larger holes, add mesh patches and joint compound. You don’t need expensive tools to get professional results—technique matters more than fancy equipment.
Also Read : High Taper Fade